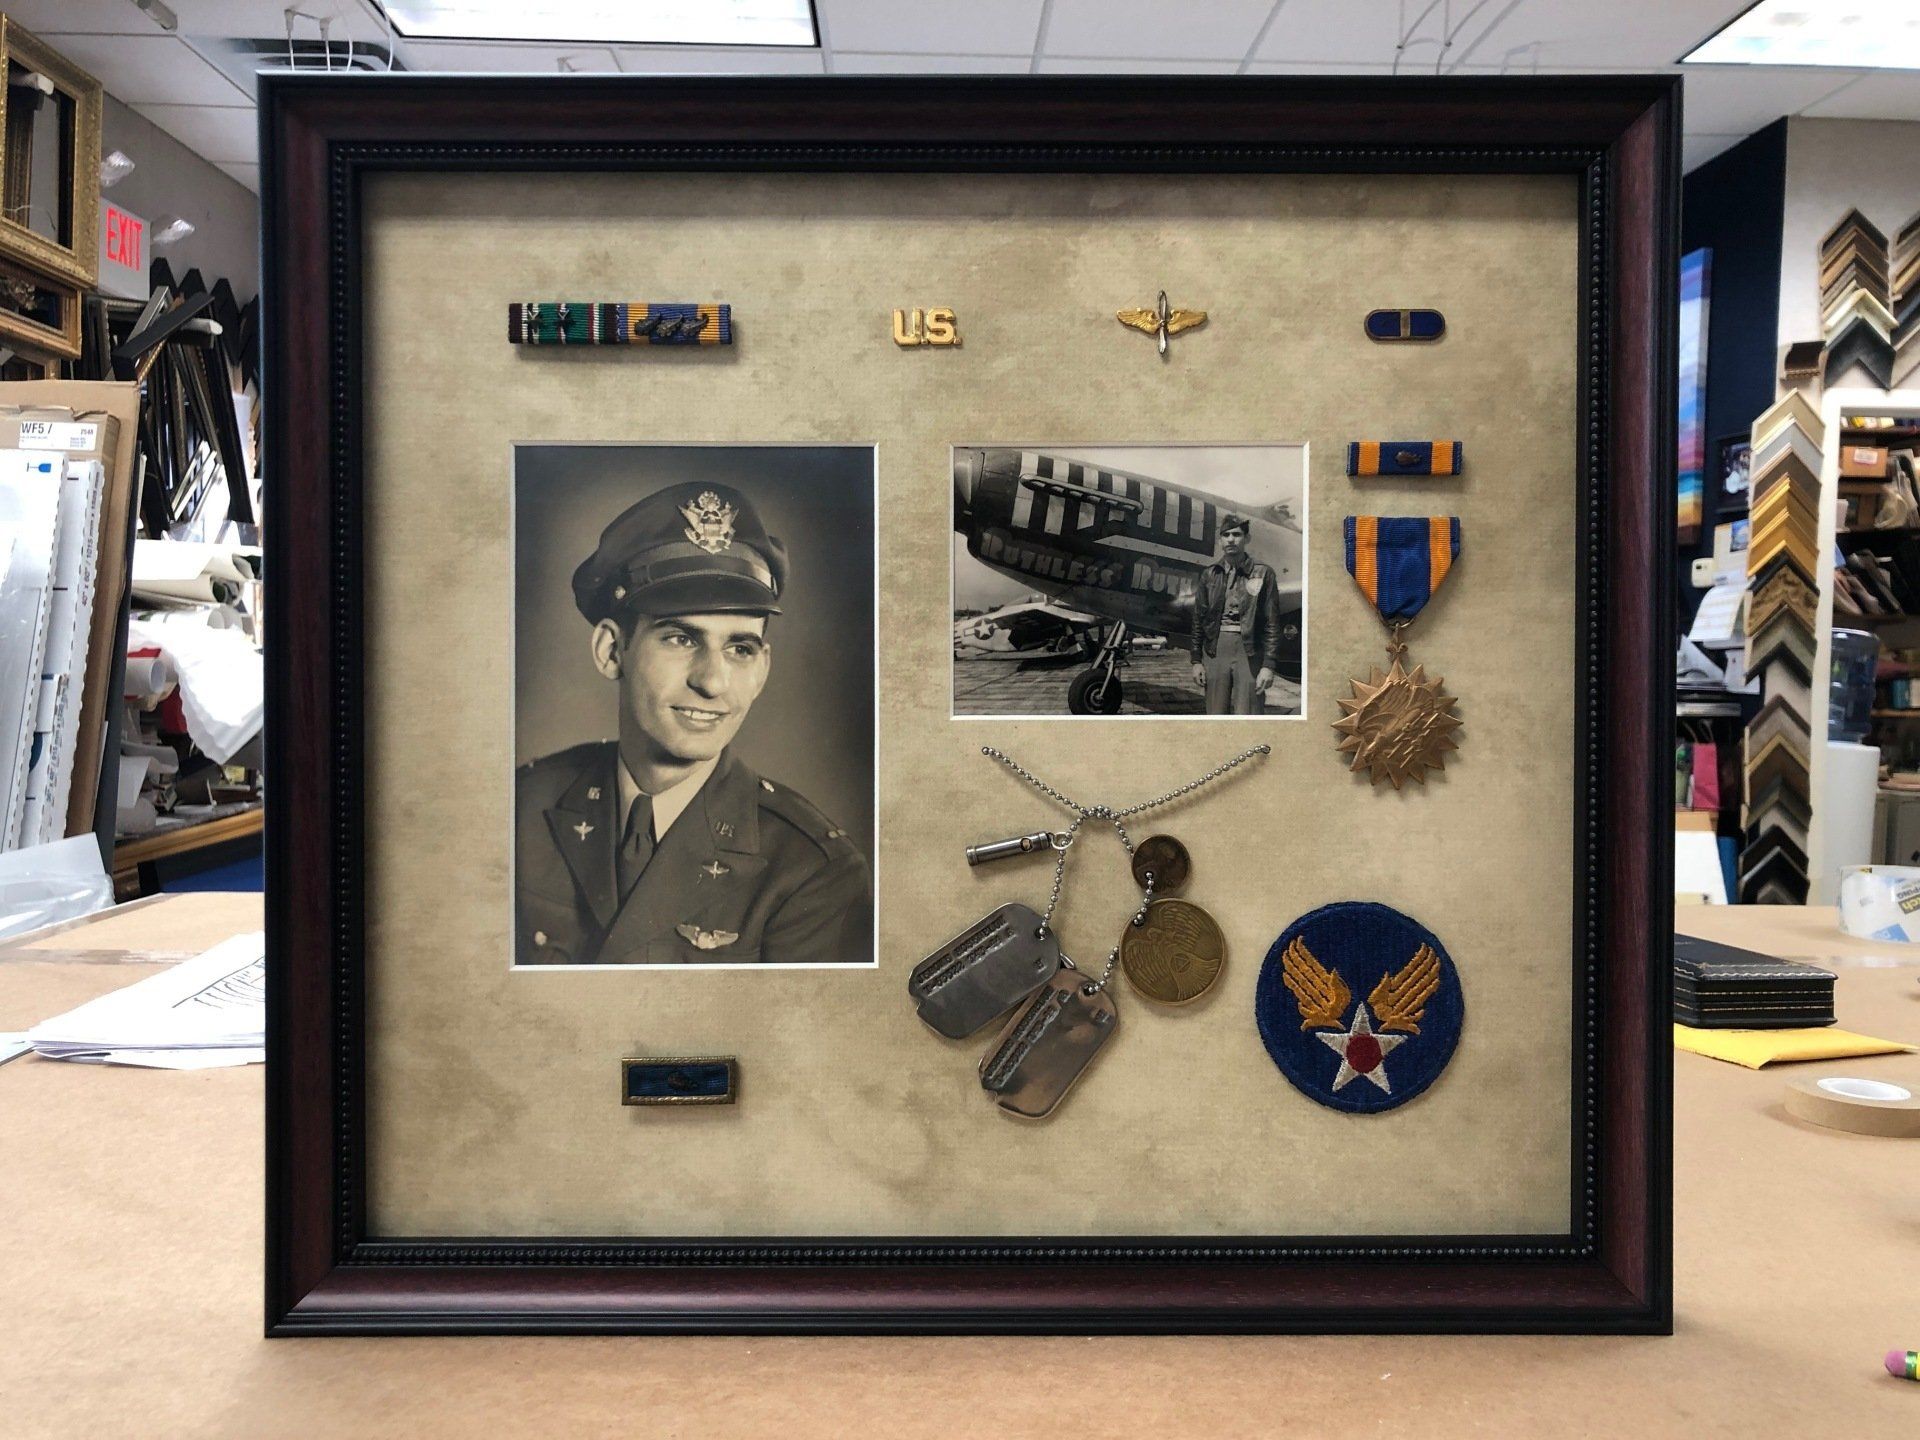
This photo depicts Jerome Rosenblum with his decorations he served Our Country as an Aviator in World War II, he started Abbe Lumber when he returned.
Blog Post
Do It Yourself Projects in Avenel, NJ
- By
- •
- 14 Feb, 2018
- •

Deck Plank Repair and Reinforcement
Materials and Tools:
- Chisel
- Clear Wood Sealer
- Deck Screws
- Exterior Wood Finish
- Galvanized Nails
- Hammer
- Paintbrush
- Pry Bar with a good nail claw feature
- Screw Gun
- Tape Measure
- Treated Engineered Decking Wood
- Wood Putty for Rotted wood
- First, remove the nails and screws from the decking with the pry bar and hammer.
- Then inspect the joists underneath the decking and look for weak, soft and rotted wood.
- With a hammer and chisel remove the rotted portions of weak wood in the joists underneath.
- Next, apply two thick coats of a sealer to the remaining good wood and let it dry.
- Repair the rotted wood with wood putty let it dry.
- With the engineered decking wood, reinforce the joist as needed to support the new decking.
- Measure the replacement with a tape measure.
- Cut the replacement joist reinforcement with the circular saw.
- Cut replacement treated engineered deck board.
- Attach the new deck replacement to the reinforced joist with a screw gun and nails.
- Corners should be toenailed or hammered in at a forty-five-degree angle.
- Clean the newly repaired deck in preparation for stain.
- Apply the clear wood sealer then let it dry.
- Apply wood stain to match the current color of the deck. Let Dry.
- Enjoy your repaired deck.
Weatherproofing your Doorway
Materials and Tools:
- Caulking gun
- Hammer
- Pry bar
- Putty knife
- Screwdriver
- Silicone Caulk
- Stapler
- Tin Snips
- V-Seal Weather Strip
- Weatherstripping
- Wood chisel
- Wood Filler
- In preparation for the weather stripping and weatherproofing your entryway. First, you need to adjust the door and even out gaps and jams with wood filler and a putty knife, filling in the gaps around the frame which will make it easier to add the weather-stripping material and the door will keep out the outdoor air and have a better seal.
- After you have adjusted the gaps and jams around the door frame, you are then ready to cut metal tension strips to fit door jamb and add the weather stripping attach the V-Seal Weather Strip to the outside door frame with silicone caulk and wood screws.
- Follow up with attaching weather stripping to the side with the staple gun.
- With the screwdriver and wood screws attach a bristle sweep to the bottom of the door.
- This project will keep the dust and dirt out of your entryway, and the weather-stripping will have a great impact on your utility bills each month.
Ceramic Tile Repair and Replacement
Materials and Tools:
- Ceramic Tile
- Chisel
- Grout
- Grout bag
- Grout saw
- Hammer
- Metal straightedge
- Mortar
- Safety glasses
- Scoring tool
- Trowel
- Use a grout saw to remove the grout around the cracked tile.
- Score the old tile in preparation to be replaced and repaired.
- With a hammer and chisel remove and break up the old tile be careful to only remove the cracked tile.
- Using the chisel and wearing your safety glasses, remove the old mortar on the surface to prepare for your new tile replacement.
- After the ground has been prepared to be replaced, then, apply a fresh coat of thin-set mortar with the trowel.
- Carefully set in your new replacement tile. Let dry.
- Replace the grout between the tiles with the trowel.
- Enjoy your newly repaired tile surface.
Paint the Room of Your Dreams
Materials and Tools:
- 220-Grit Sandpaper
- Sanding sponge
- A 5-Gallon bucket
- Brushes
- Drop Cloths
- Extension Pole
- Floor duster
- High-quality latex paint
- Ladder
- Latex paint respirator
- Paint grid
- Paint tray
- Painter's tape
- Primer
- Rollers
- Safety glasses
- Spackling compound
- Sponge
- Towels & Rags
- First prepare your walls for painting removing any nails and filling the gaps, irregularities with spackling compound. And sanding smooth any places that might be irregular in any way with the 220-Grit Sandpaper.
- With the blue painters' masking tape. Prepare the borders of the room with painter's tape where you don't want the paint to go like baseboards for example; if they are not intended to match the wall color, you should carefully mask the baseboards and ceiling border with painter's tape.
- The best idea is to move all furniture and office items out of the room to be painted. If this is not an option, make room by moving all the furniture in a central location out of the way and covering everything with drop cloths to prevent accidents. Cover the floors with drop cloths.
- Apply a good coat of primer before your wall color and let it dry.
- After the primer has dried, paint the walls with a roller and paint trays, carefully evenly covering the walls with your new desired color.
- Let the paint dry thoroughly and evenly.
- After the paint has dried and the color is correct, you can then remove the painter's tape and drop cloths.
- Latex paint brushes can be cleaned thoroughly with water.
Construct a Picture Frame to Hold Your Memories
Materials and Tools:
- 1- x 3- x 8-foot whitewood
- 1/8-inch x 2- x 4-foot hardboard
- 1-inch pan-head screws
- 1-x 2-inch x 8-foot whitewood
- 8- x 10-inch glass pane
- Carpenter square
- Clamps
- Drill and bit
- Ear protection
- Finishing nails
- Four flush screen clips
- Hammer
- Measuring tape
- Pencil
- Project pack of brad nails or 1 ½- and 5/8-inch finishing nails
- Safety glasses
- Screwdriver
- Two sawtooth picture hangers
- Miter saw or circular saw
- Carefully measure your desired frame shape and size; then with a pencil and tape measure mark the whiteboard in preparation to cut the lumber.
- Construct the inner frame making sure it will precisely hold the 8 x 10-inch image before you glue and clamp.
- After carefully measuring you can then, attach the outer trim.
- Dry fit the picture frame and make sure that the 8 x 10-inch glass is in alignment with your frame and ready to be installed.
- With glue and careful clamps making sure that everything is congruent, attach the hardboard.
- Depending on whether the picture is a landscape or portrait you should attach the hanging hardware to the center of the long side on the back for a horizontal landscape or on the short side for a vertical portrait.
- Finish the final frame with a smooth sanding and apply a finish if desired.
Share
Tweet
Share
Mail
Browse
Our Website
Contact
Information
Phone: 732-634-2000
info@abbelumber.com
200 Avenel St, Avenel, NJ 07001
Hours of Operation:
info@abbelumber.com
200 Avenel St, Avenel, NJ 07001
Hours of Operation:
| Mon-Fri | 7:00 AM - 4:30 PM |
| Sat | 7:30 AM - 11:30 AM |
Our
Location
Images provided on this website are for personal, non-commercial use. Republication, retransmission, or reproduction of such images is strictly prohibited.


